Modeling based on TOSCA XML (deprecated)
This guide shows an overview of how to model TOSCA node types and service templates using Winery. Before starting this guide, please take a look at Miscellaneous Notes.
The following shows how to model new node types and how to use them at the modeling of a new service template. In this example, the runtime Python3 shall be installed on an Ubuntu 14.04 virtual machine running on an Openstack infrastructure. For this, we require three node types. In this example, we model two node types, Python3 and Ubuntu 14.04, and assume that the OpenStack node type was previously modeled.
Creating a new Node Type
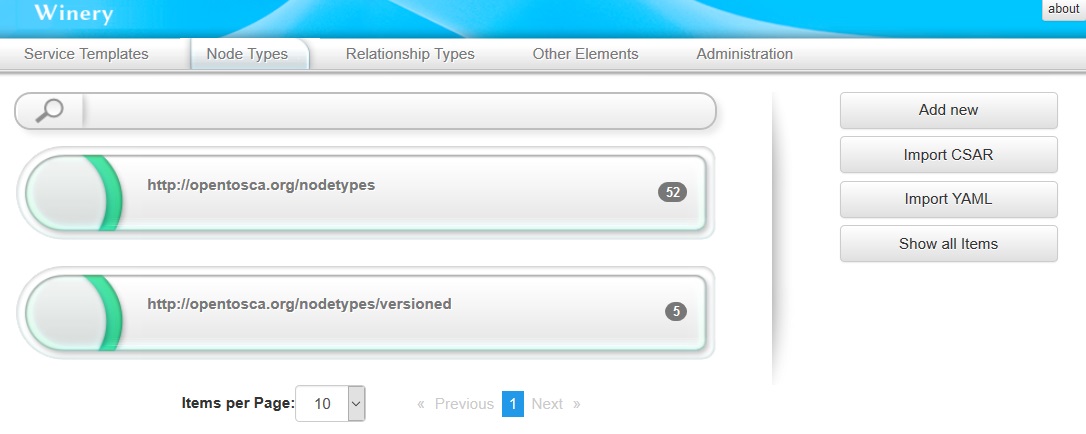
By selecting the tab Node Types, a list of available node types is shown. To create a new node type, press the button Add new.
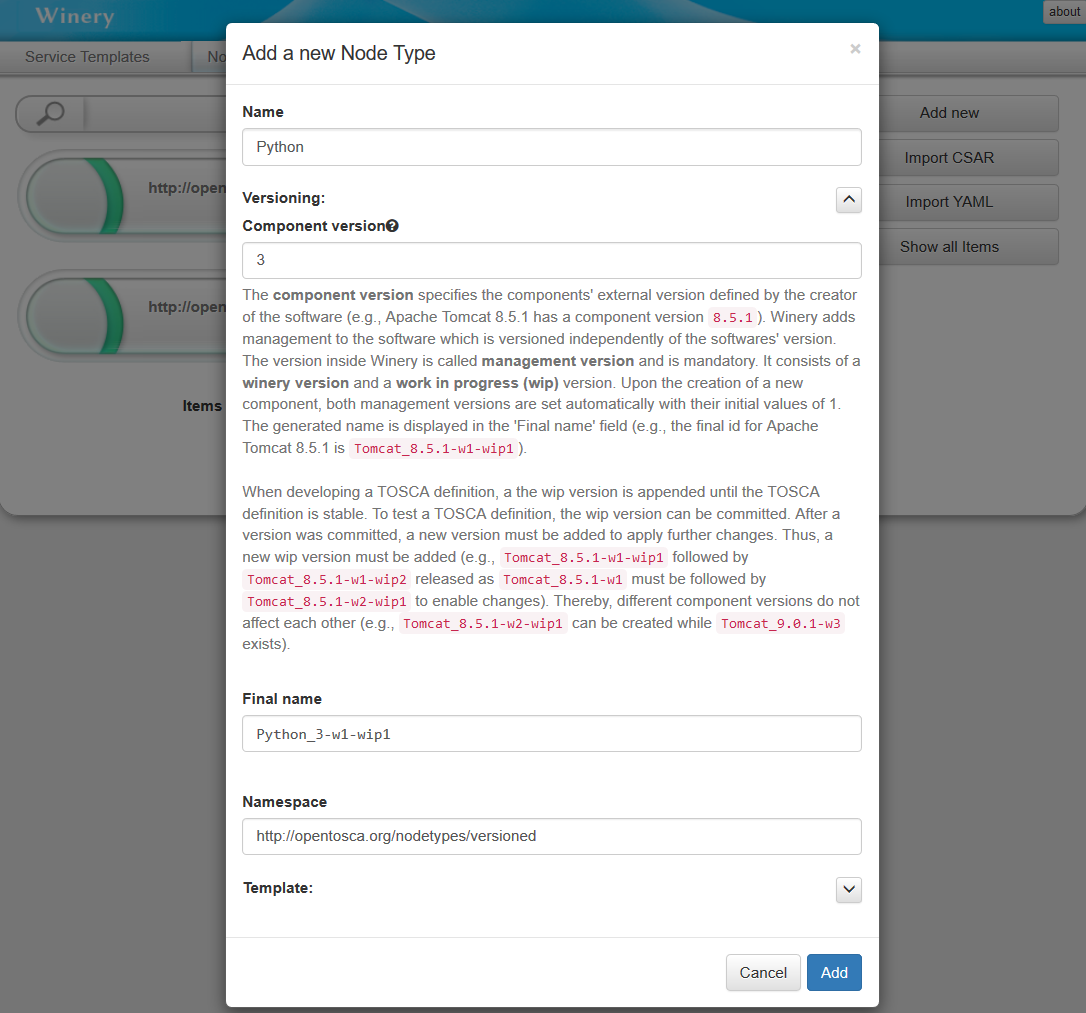
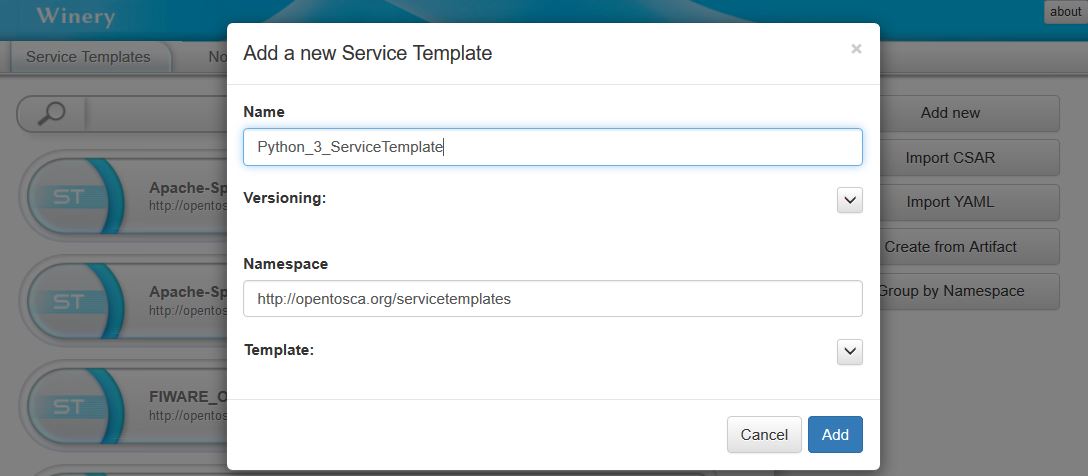
This will open a dialog in which the Name, Component version, and Namespace of the new node type can be configured.
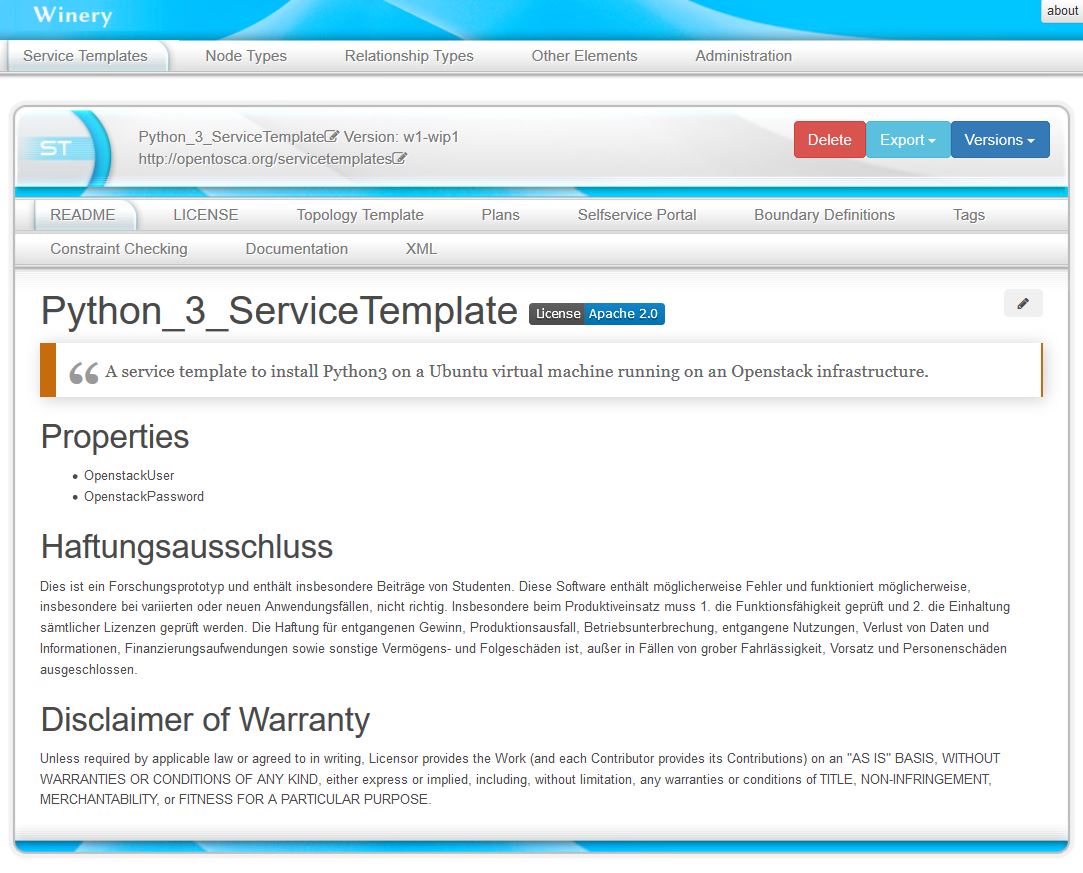
Once the node type is created, it can be further configured through different tabs of its detailed view.

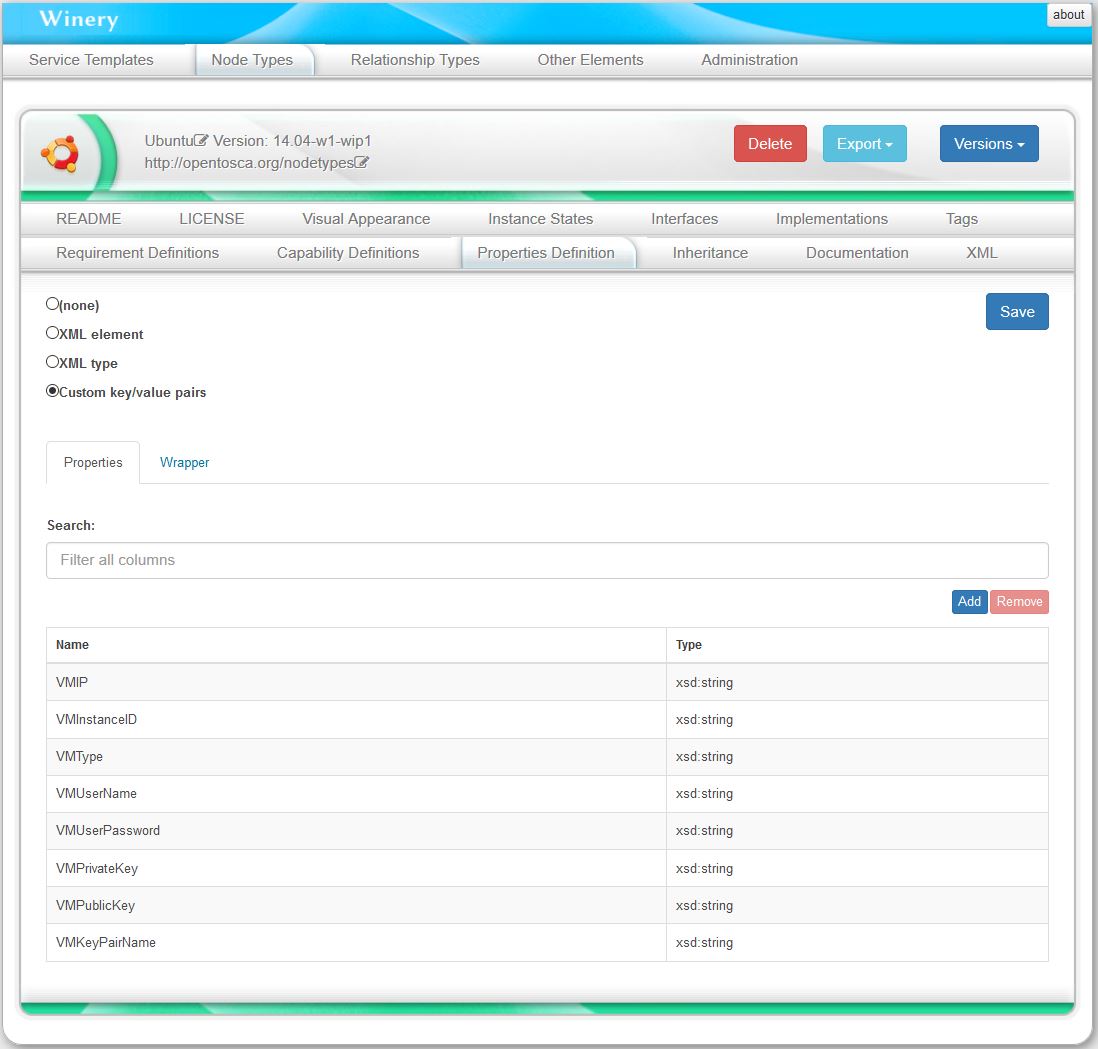
For example, to add properties to the node type, select the tab Properties Definition.
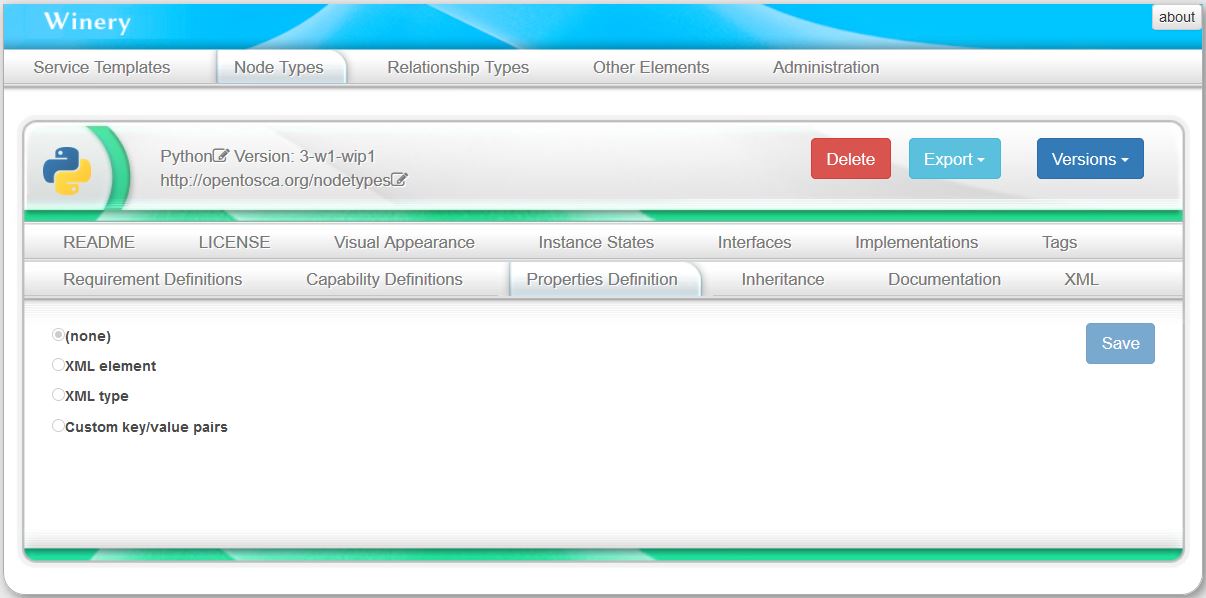
In this example, the Python3 node type does not require any properties.
Modeling the Node Type Interface
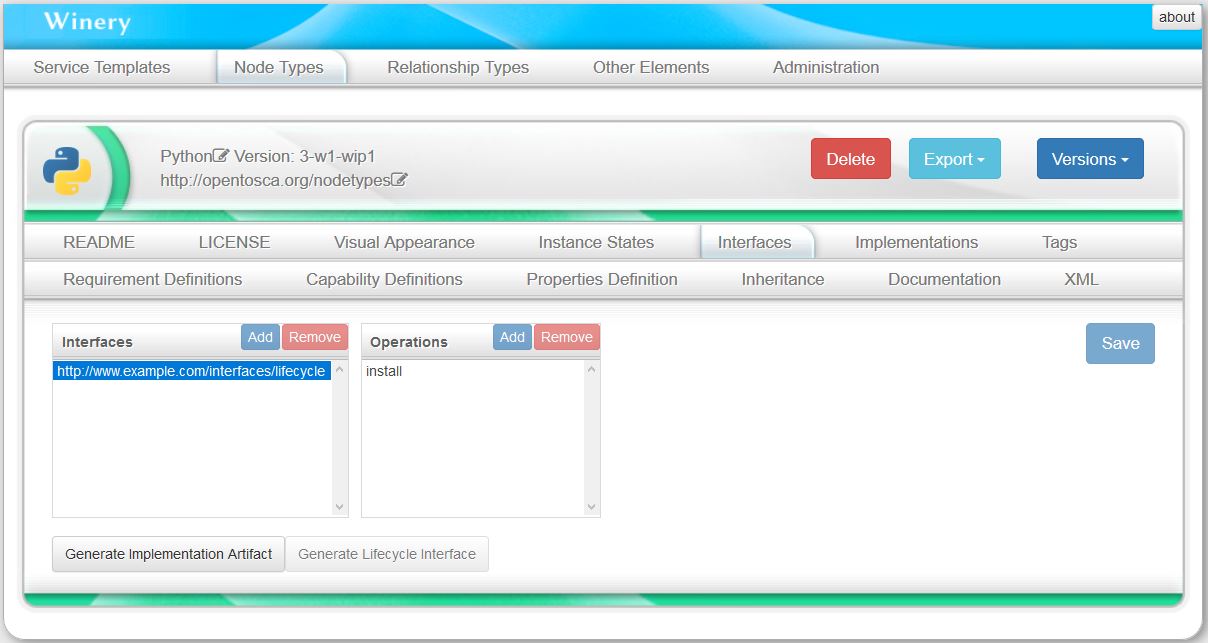
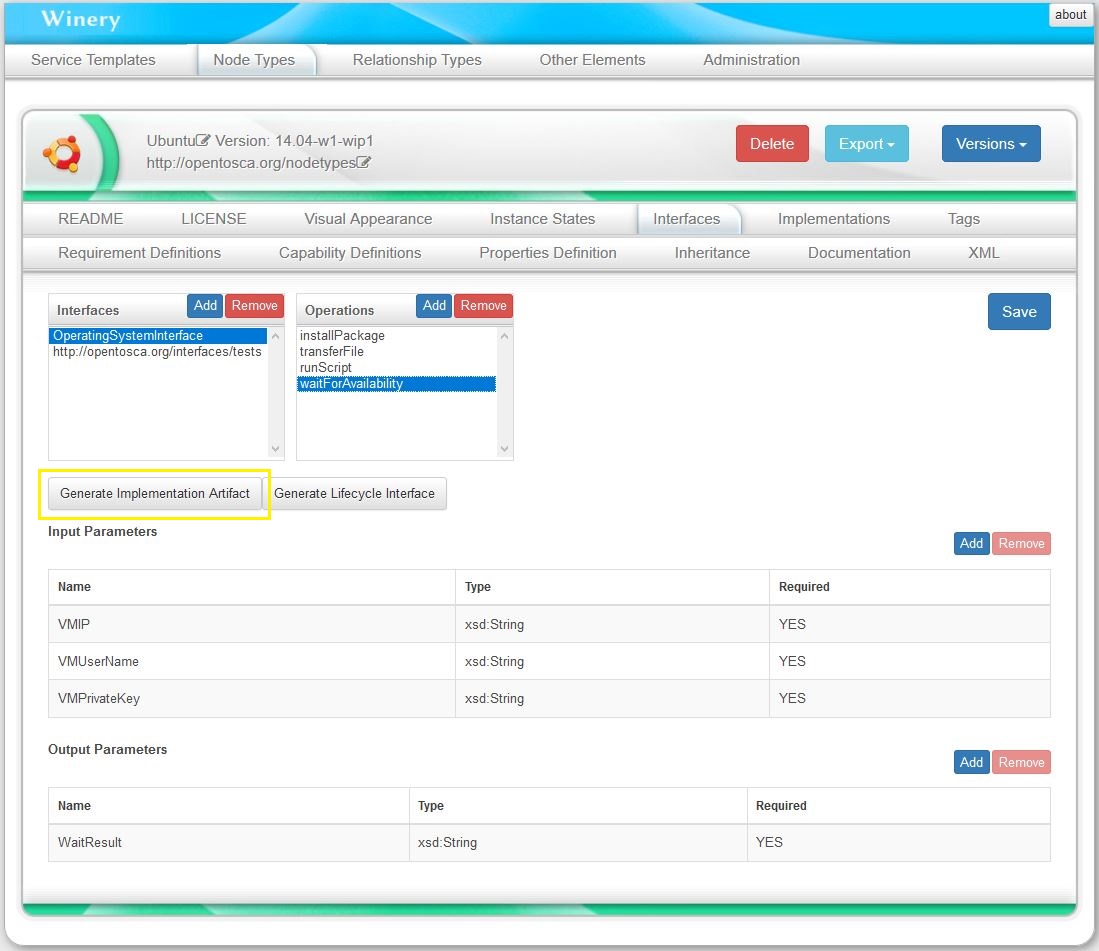
To specify what the Python3 node type should do, we define an interface and the operations provided by this interface. An interface containing lifecycle operations (install, configure, start, stop, uninstall) can be automatically generated, however, any arbitrary interface can be created.
To generate a lifecycle interface, press Generate Lifecycle Interface and Save. For the node type Python3, we only use the operation install.
Modeling an Artifact Template for a Node Type Operation
Once the operations of a node type are defined, artifacts (e.g., shell scripts, .war files) implementing these operations need to be modeled. In this example, we have a shell script to install Python3 on Ubuntu, which we model as an artifact template.
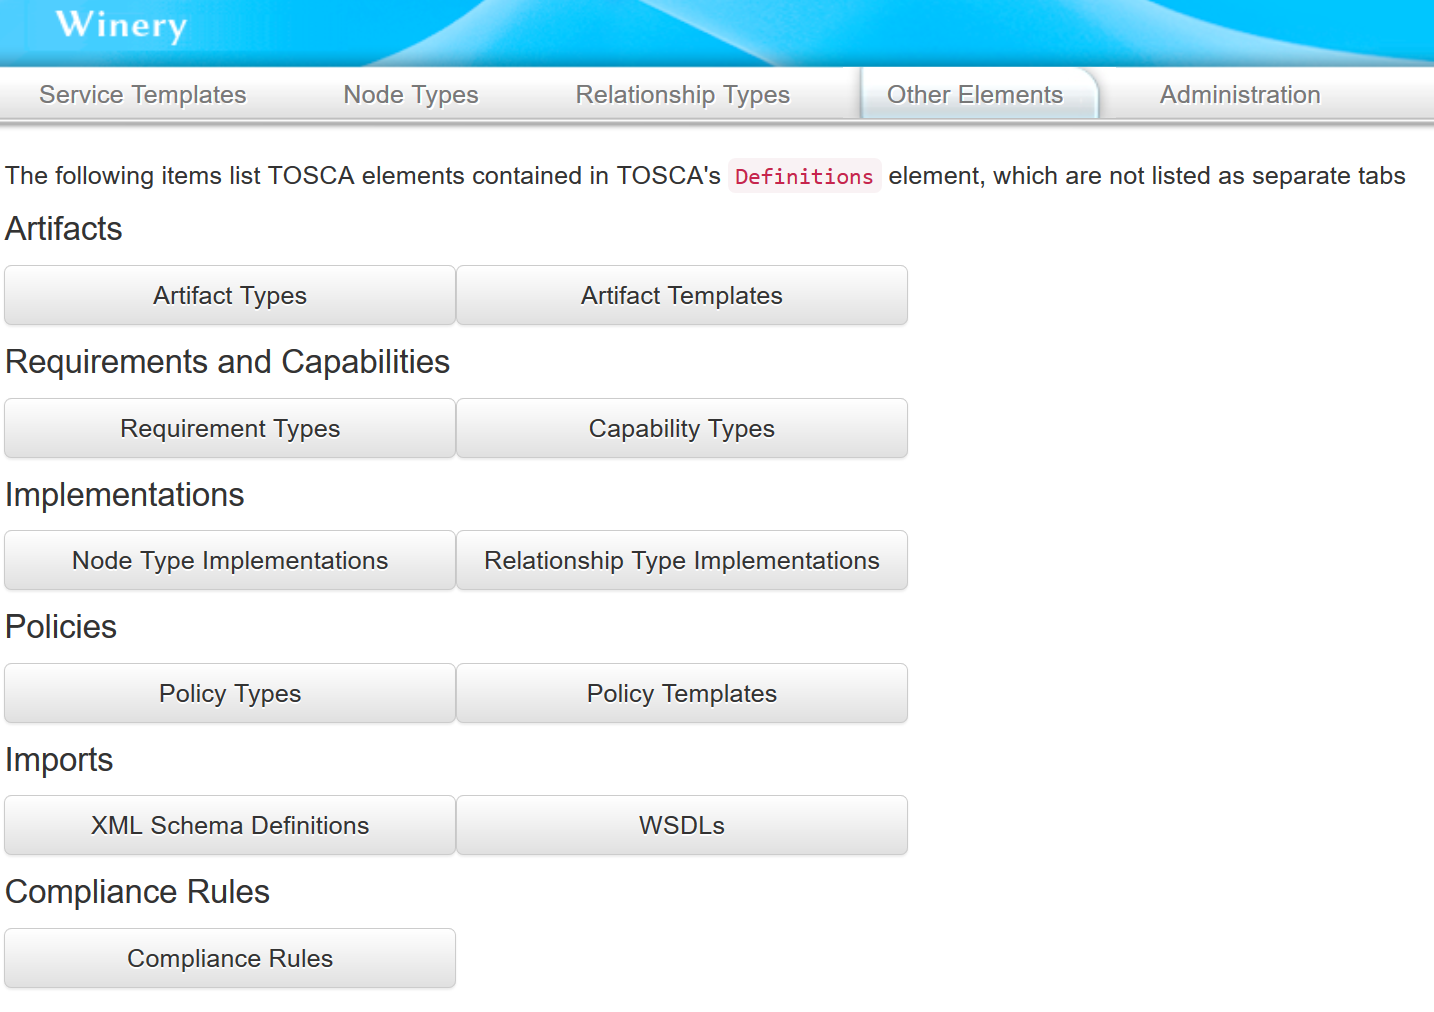
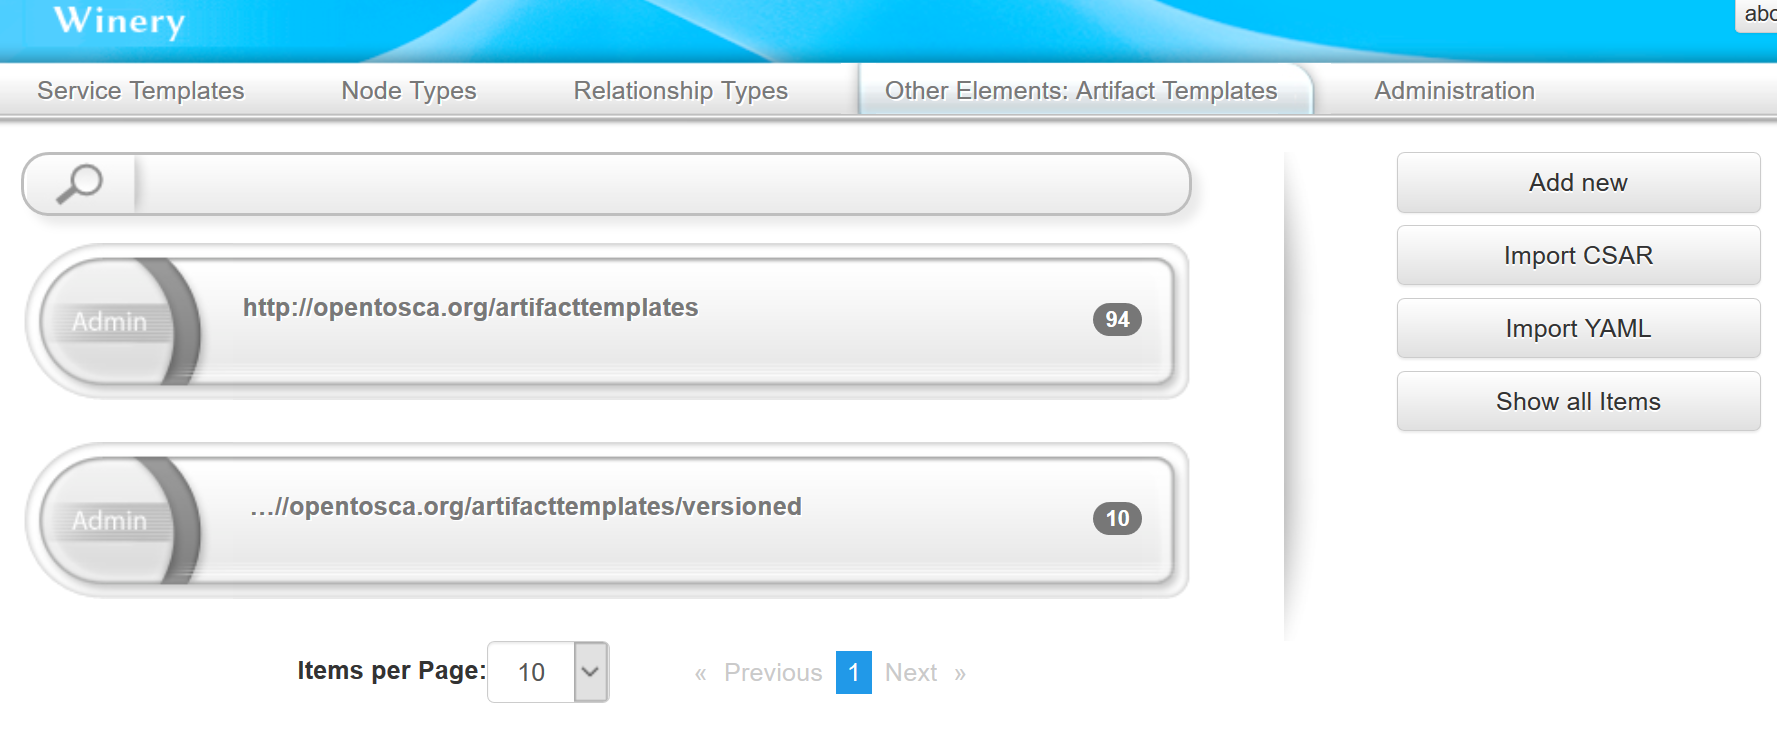
To create an artifact template, select the tab Other Elements, under the category Artifacts select the option Artifact Templates, and press the button Add new.
This will open a dialog in which the Name, Versioning, Type, and Namespace of the artifact template can be configured. Assuming that some artifact types were previously modeled, choose the type ScriptArtifact.

Once the artifact template is created, it can be further configured through different tabs of its detailed view.
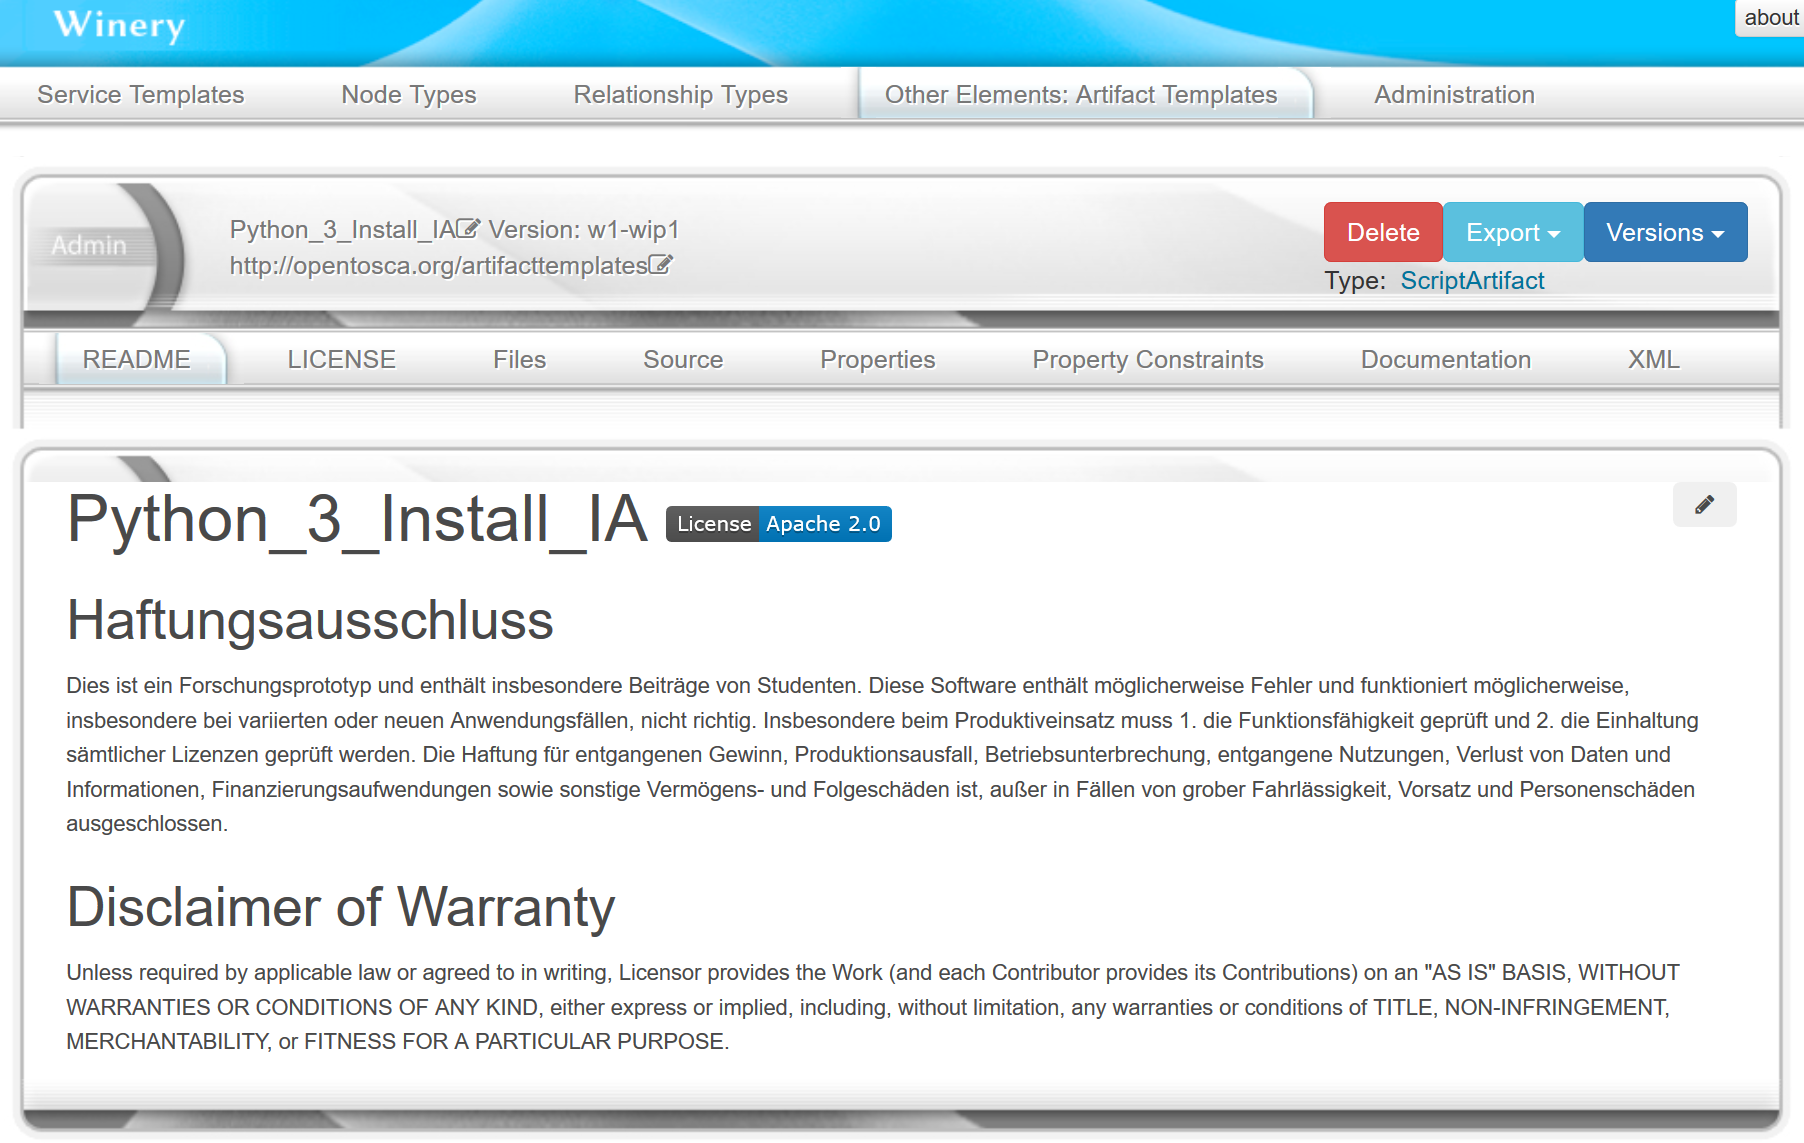
Finally, to load th install script to the artifact template, select the tab Files, and drop the file into the drop zone.

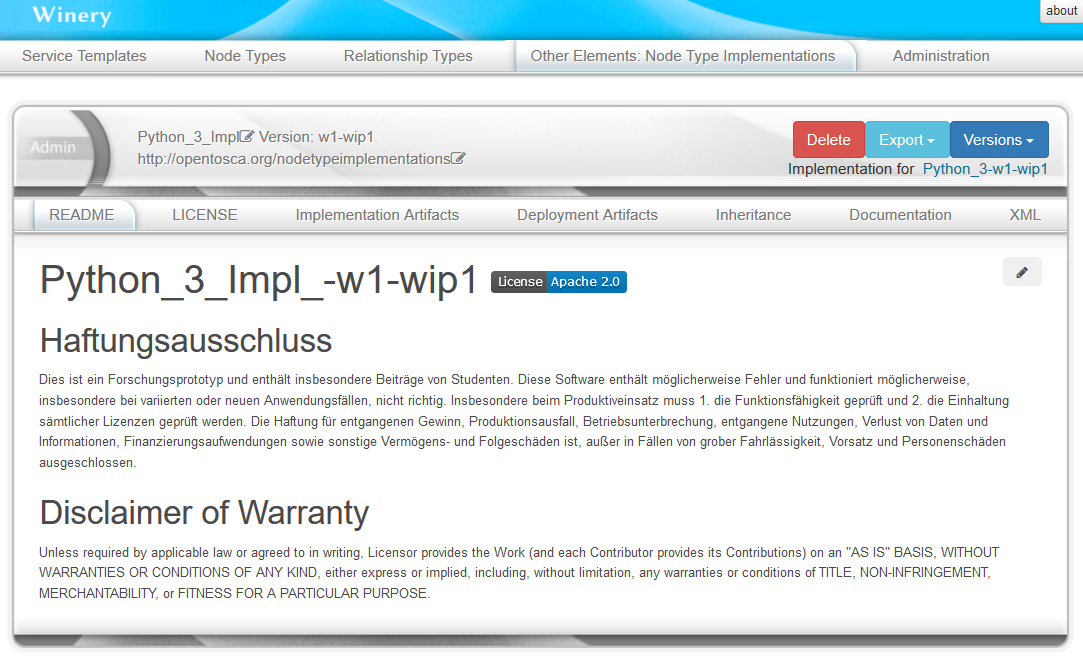
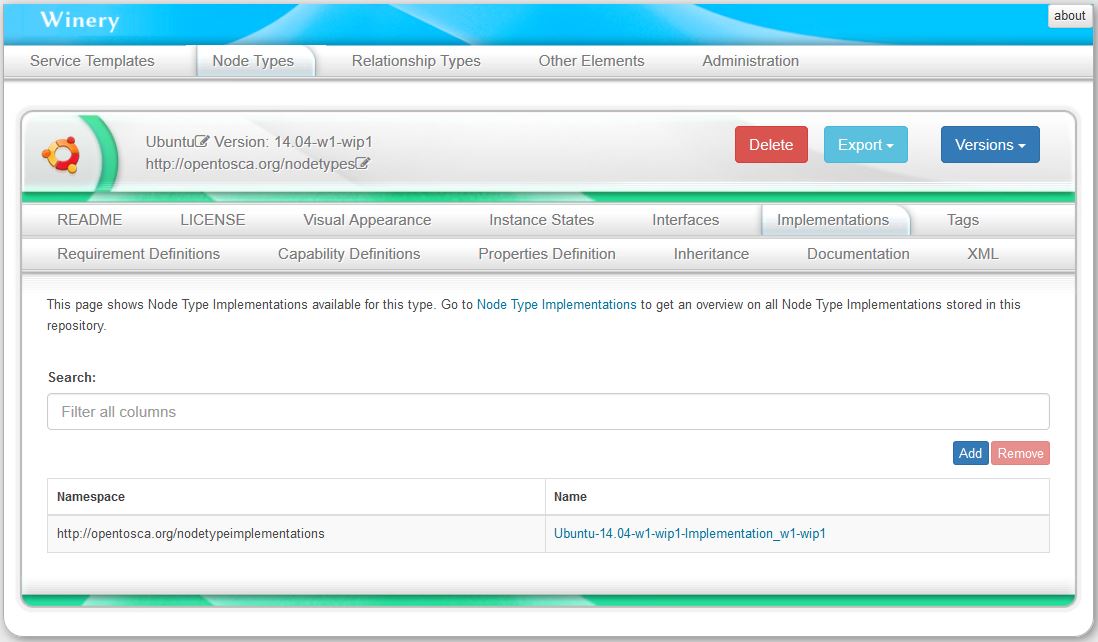
Modeling the Node Type Implementation
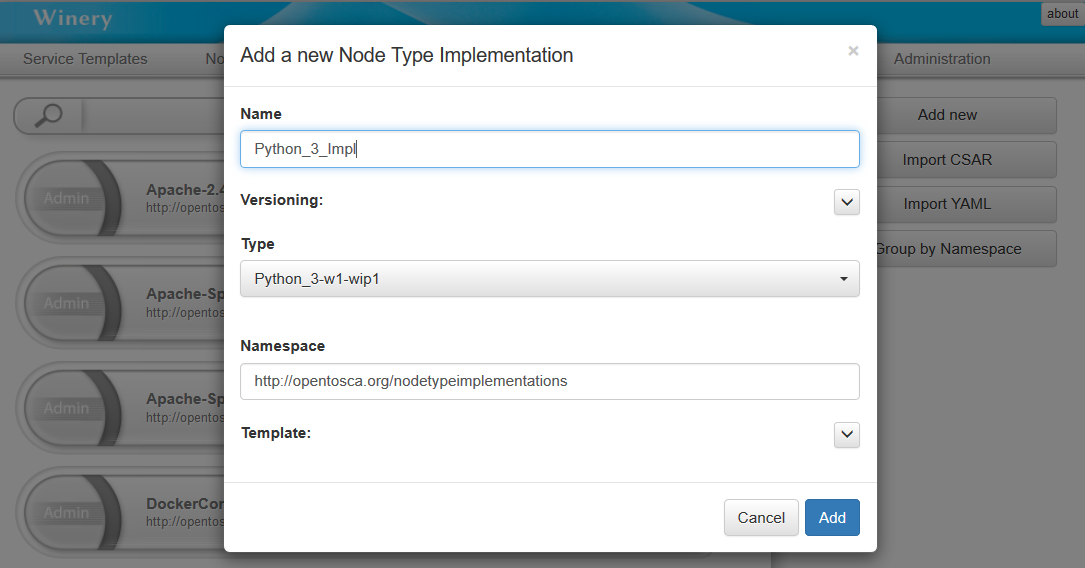
To create a node type implementation, select the tab Other Elements, under the the category Implementations select the option Node Type Implementations, and press the button Add new. This will open a dialog in which the Name, the corresponding node type, and Namespace of the node type implementation can be configured. By type, select the node type we created before.
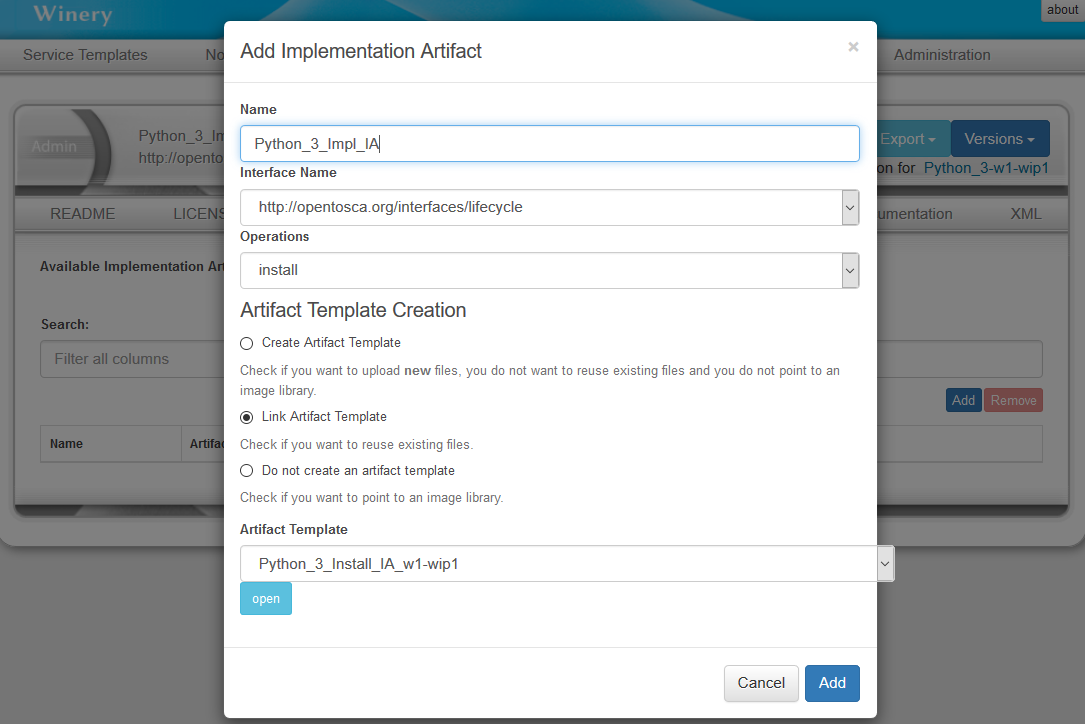
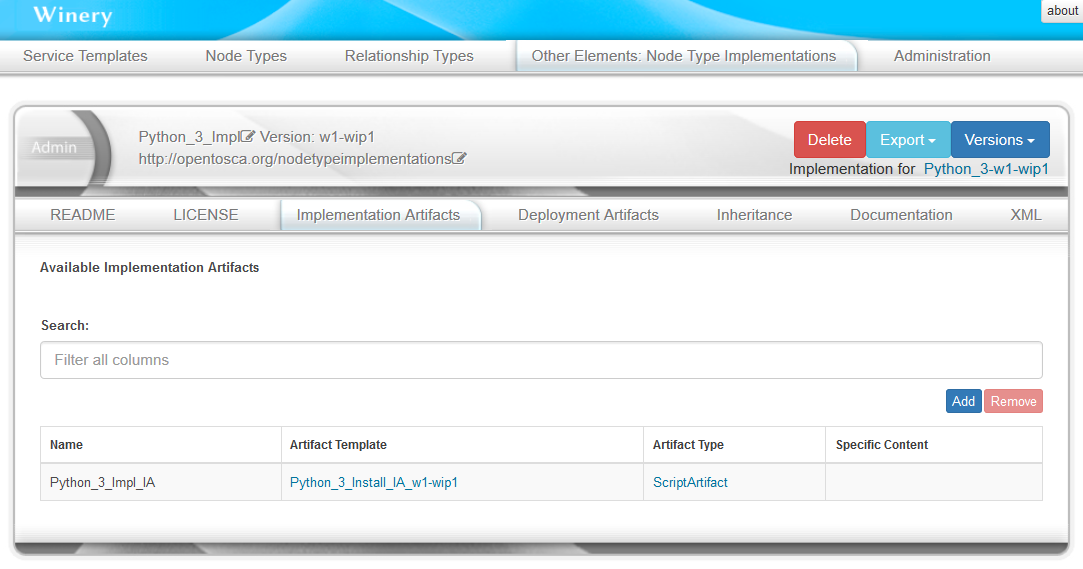
To link the created artifact template to this node type implementation, select the tab Implementation Artifacts and press the button Add. In the shown dialog, choose the option Link Artifact Template, then select the artifact template that was previously created.
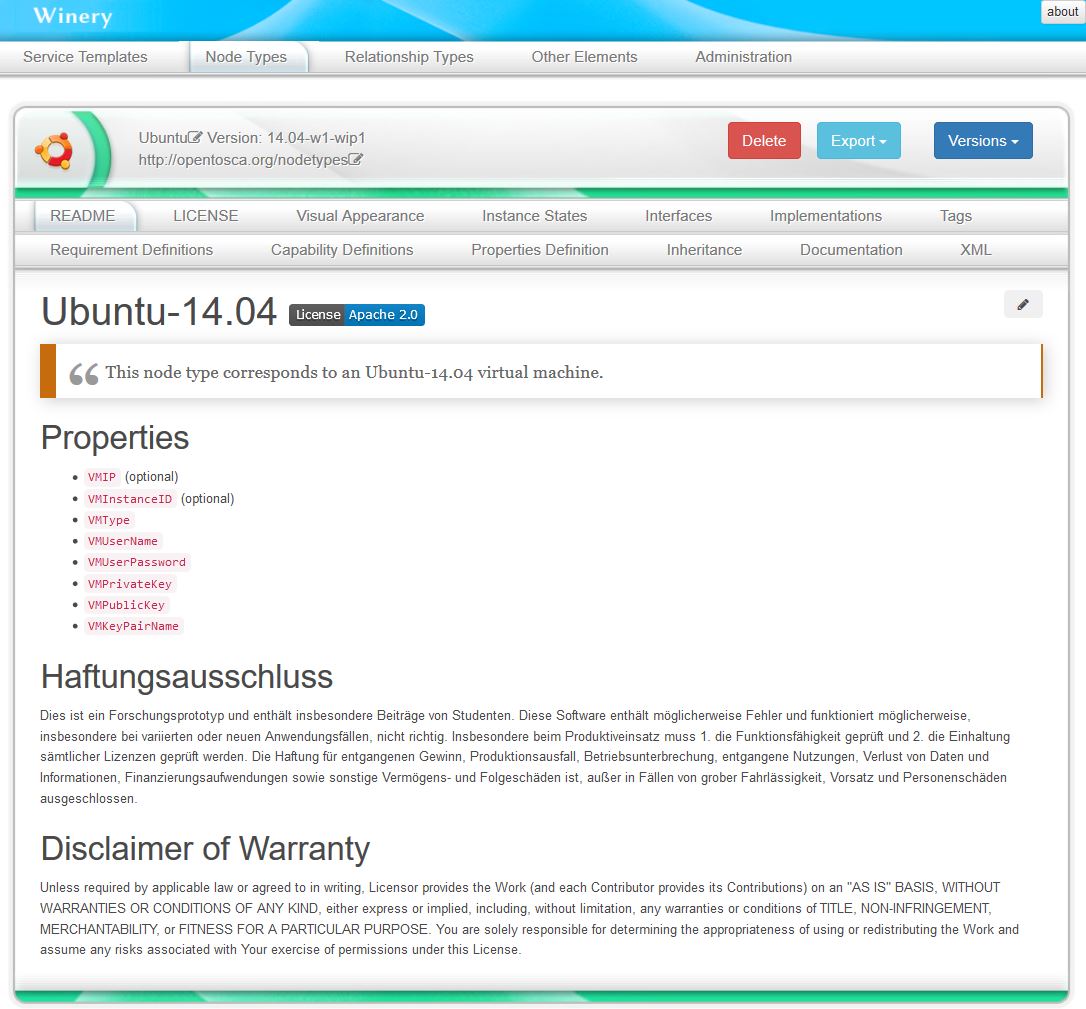
Modeling the Ubuntu Node Type
The modeling of the Ubuntu node type is similar to the modeling of the Python3 node type.
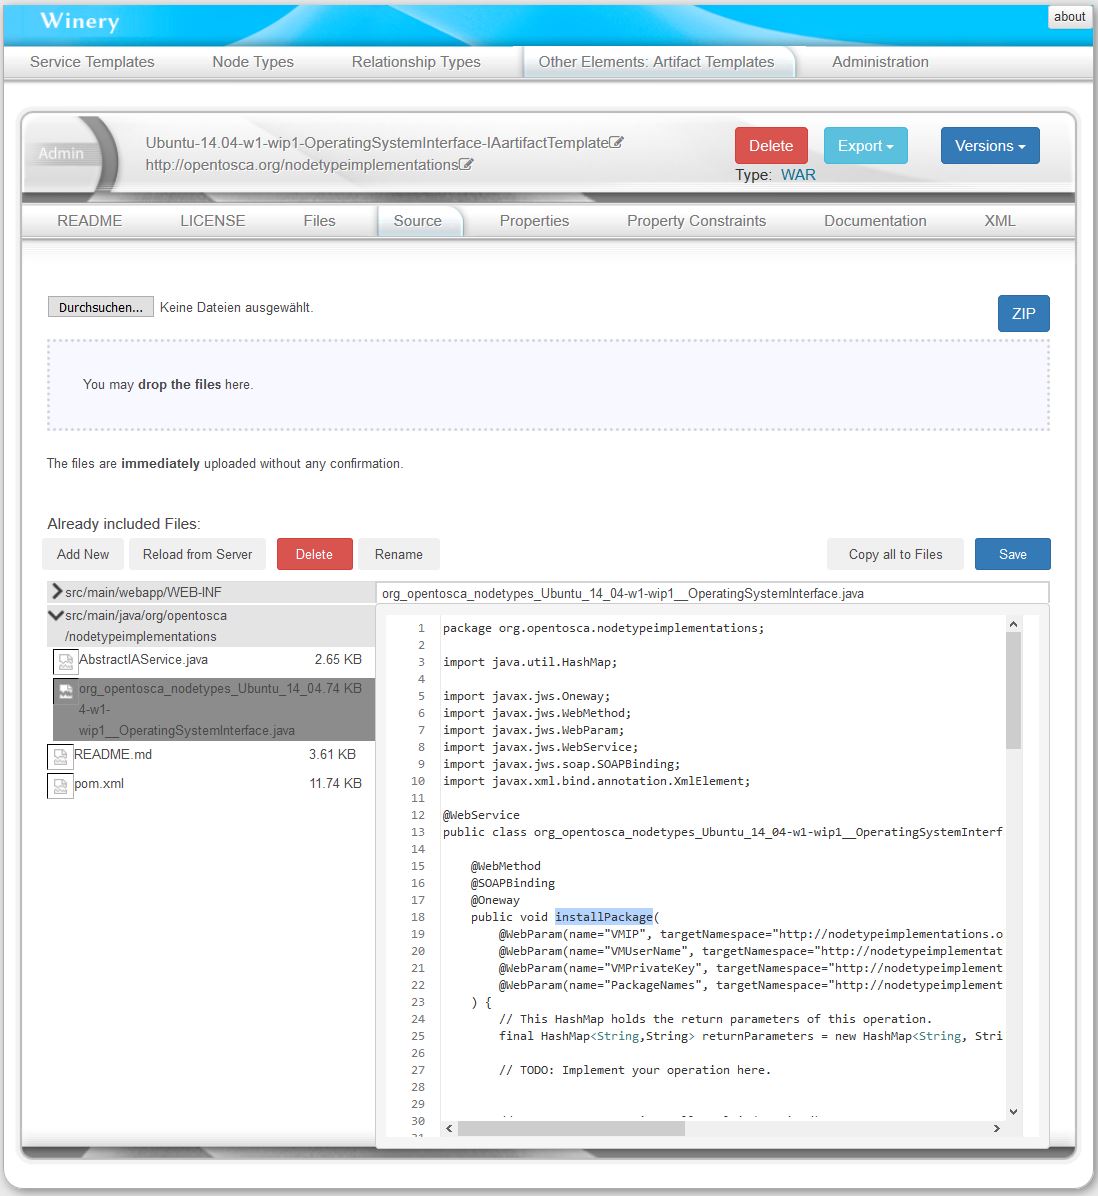
However, the artifact templates for the Ubuntu 14.04 are .war files instead of shell scripts. In this case, after defining the interfaces and operations of the Ubuntu node type, we can automatically generate a stub java maven project to build a .war file for a defined interface. For this, press Generate Implementation Artifact. The node type implementation will be automatically generated as well.


After editing the generated stub project, we can built it and load the resulting .war file to the artifact template in the tab Files.
Creating the Service Template
To finally model the service template, at the tab Services Templates, press Add new.
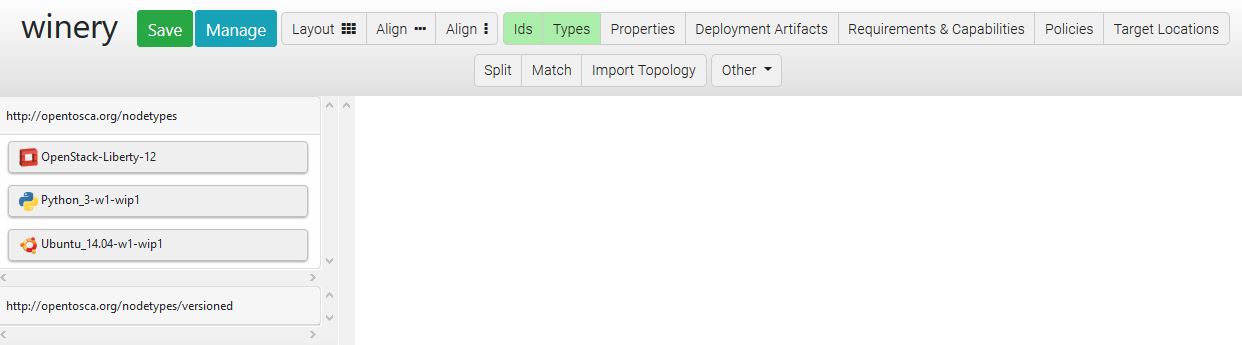
Go to tab Topology Template and press the button Open Editor.
In the editor, the Palette on the left shows the available node types, which can be drag and dropped in the modeling area.
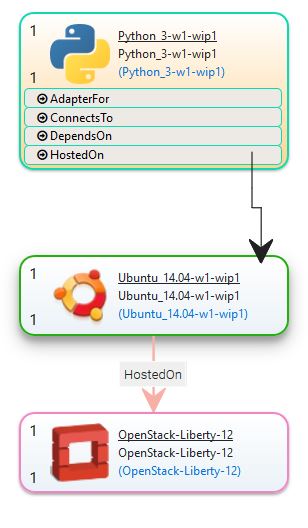
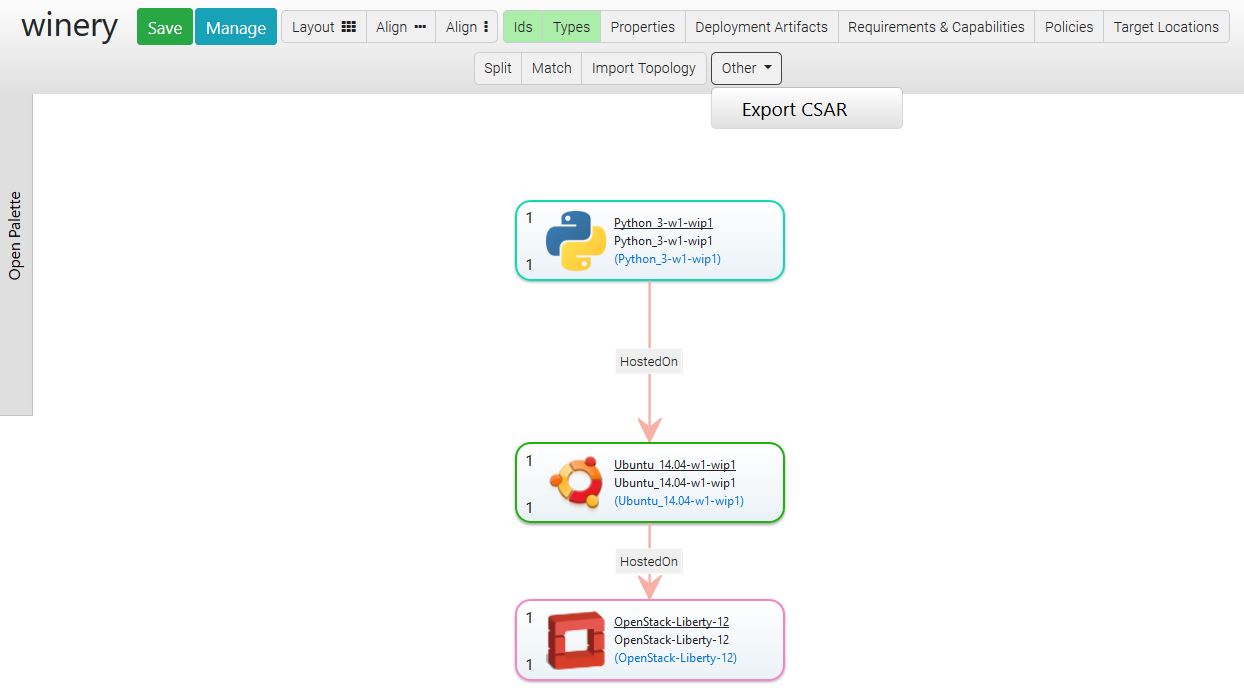
To model the relationship that the Python3 runtime is hosted on the Ubuntu virtual machine, click at the Python3 node template. This will show a list of possible relationship types (previously modeled). Click in the option HostedOn and pull the shown arrow to the Ubuntu node template area, in order to connect these node templates.
Exporting a Service Template Package
To export the Service Template as a CSAR package, press Other, then Export CSAR.
Miscellaneous Notes
Properties of a Template can be either full XML or key/value based.
If key/value based, a wrapper XML element is required.
Since QNames have to be unique, Winery proposes as namespace the namespace of the template appended by propertiesdefinition/winery.
The name of the wrapper element is properties.
Note
Implementation hint: This is implemented in PropertiesDefinitionComponent.onCustomKeyValuePairSelected (TS) and org.eclipse.winery.model.tosca.TEntityType.getWinerysPropertiesDefinition (Java).
Uniqueness of QNames
Intentionally, a QName should be unique within the repository.
We did not follow this assumption, but only require that QNames are unique within a type.
That means, the repository allows {http://www.example.org}id for both a service template and a node type.
We introduced DefinitionsChildId uniquely identifying a TOSCA element.
Future versions might redesign the backend to use a QName as the unique key.